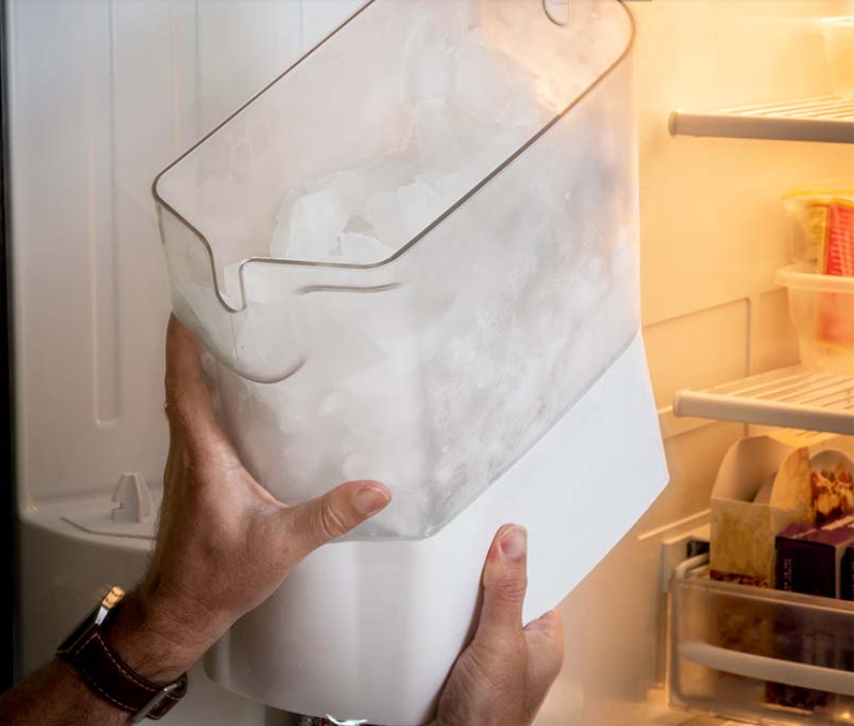
Do you like cold drinks but don’t have the time to replenish your ice supply constantly? Then you need an ice maker.
While they come with a price tag, home ice makers can save you both time and money in the long run. However, one important thing to note before making your purchase is that most of these appliances, like the Kismile brand, require a water line to function.
This guide will teach you how to connect an ice maker water line in just a few simple steps. Let’s get started!
Turn off the Water Supply Valve
Before you start any work, turn the water supply valve off so there won’t be messy surprises during installation. You want to avoid potential flooding of your kitchen! Shutting off the valve is easy – just find the shutoff valve for the ice maker, turn it to the “OFF” position, and you’re done. If you can’t locate yours, check your home’s main water supply valve, and that should do it.
Now you have everything ready to go, so let’s connect your ice maker water line.
Connect Fittings
This is the next step. Ensure that you have the necessary fittings and hoses to connect the ice maker water line. Connect one end of the hose to a fitting on the back, underside or side of your refrigerator where it is indicated by a small arrow marked “Water Line” or “Water Valve”. Then, attach the other end to an appropriate water supply line. Finally, tighten both connections firmly with wrenches and check for leaks.

Install the Saddle Valve
If you’re using a saddle valve, install it onto the cold water pipe and tighten it with an adjustable wrench.
Turn On Water Supply Valve
Once your fittings are secure, turn on the water supply valve slowly and ensure sufficient water pressure comes out of the hose – too much could cause flooding! You can now connect your ice maker to its power source if everything looks good.
Test for Leaks
Once the valve is opened, check your connections for leaks before plugging in your refrigerator or ice maker unit. This ensures no water damage will occur once you start using these appliances.
Plug It In
The last step in connecting your ice maker water line is to attach the power supply. This connection should be made per manufacturer instructions, and all electrical components must be installed correctly to avoid electric shock. Ensure that wires are properly connected and insulated before plugging into a wall outlet. Once you have done this, you can now enjoy the convenience of having an ice maker!
Wrapping Up!
Now that you know how to connect an ice maker water line, there’s no reason not to enjoy the conveniences of having one in your home. Learning this easy process means you can easily switch from buying ice cubes at the store to having them readily available in your freezer.