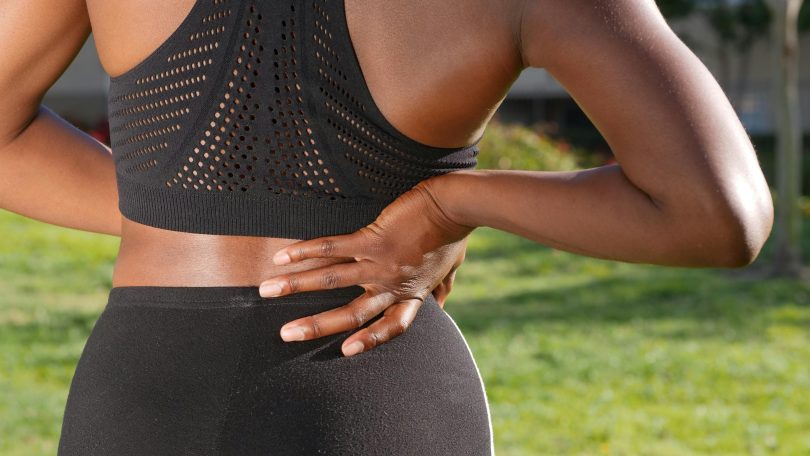
If your back pain is bothering you and making you miserable, then never hesitate to adopt yoga as a long-term remedy. Though some people may say that yoga takes time to heal your spirit, body and mind, we have to admit that only yoga can bring permanent relief to all types of pain. A well-defined yoga exercise routine can strengthen those body areas that lead to back pain.
In the next segment, we will discuss some of the effective yoga poses for back pain relief.
Different Yoga Postures for Back Pain Relief
A regular yoga routine that can extend and strengthen your hips and core muscles is helpful in relieving back pain. Each pose has its own benefits and positive impact on your back ache. However, while performing these yoga poses, ensure that you are doing them under the supervision of a certified yoga trainer or expert.
These yoga poses pay attention to those muscles stretching which is attached to the lower back. Moreover, these muscles integrate into another muscle group. The yoga stretches will put pressure on your buttocks and the muscles attached to the spine. The muscles involved in performing the yoga posture will emphasize your glutes and core. Ensure that you have combined the strengthening and stretching of the muscles. If you do the stretching alone, then it can increase your back pain. So please work on the weak body parts leading to back pain. Let us know some of the effective yoga poses that bring relief to your back pain: –
Child Pose ( Balasana)
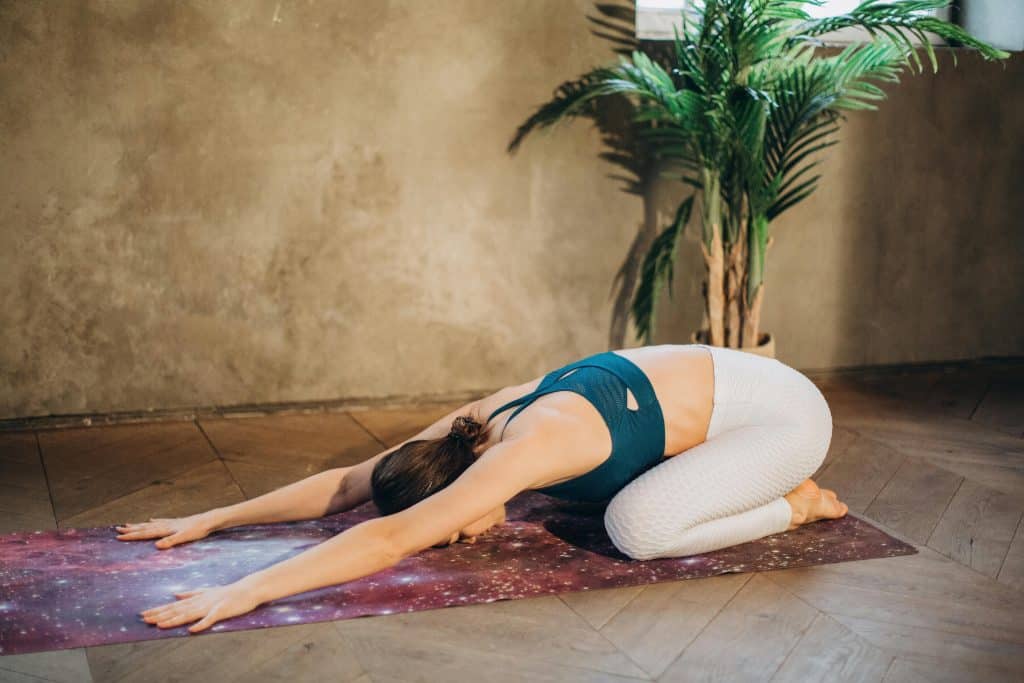
When you see a child pose, you may think it is a resting pose, but the story is different. This pose is effective in stretching your back. Moreover, it is beneficial when you do it before night sleep as it helps eliminate stress.
Steps to perform Child pose
Begin with stretching your arms and bend towards the heel and sit with the help of your butt muscles but don’t touch your heels. Stay in this position for at least 10 breaths and repeat the pose as per your capacity. Don’t stress your muscles too much, and make it as comfortable as you can.
Cat and Cow Pose (Marjariasana)
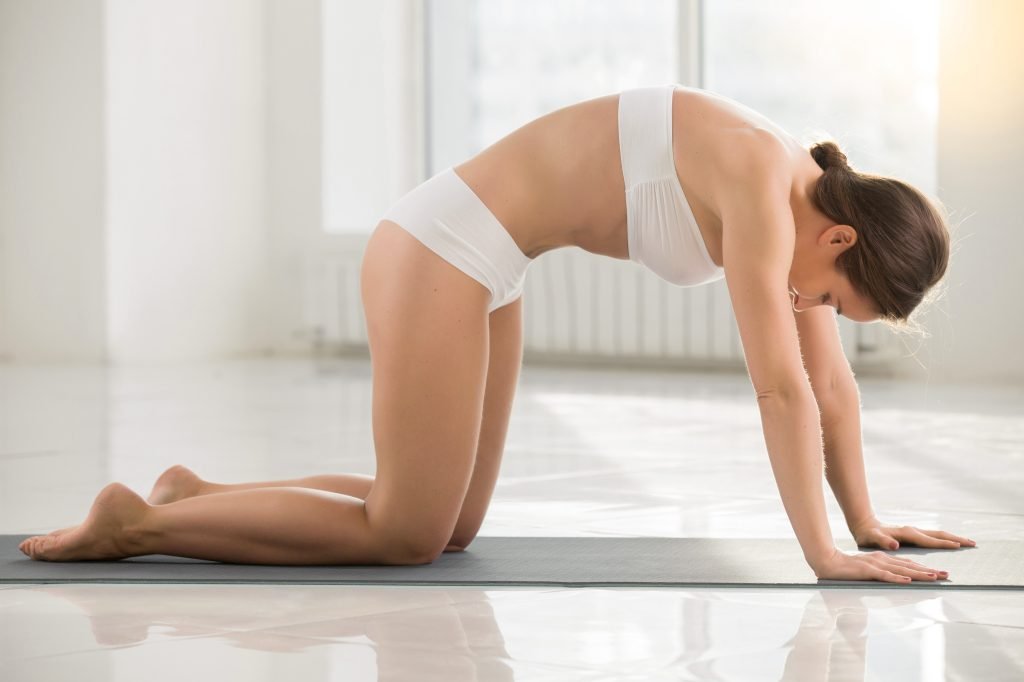
Steps to Perform Cat and Cow Pose.
Gradually shift into a cat pose by gently forcing your spine up and twisting your back. Stay in the pose for a couple of seconds, then shift to cow pose by lifting your spine in. Now, pull your shoulder muscles back and raise your head. Changing Cat from to cow pose is effective in putting your spine in a nonaligned position and releasing muscle tension. Please repeat this pose at least 10 times from the Cat to the cow pose.
Triangle Pose ( Trikonasana)
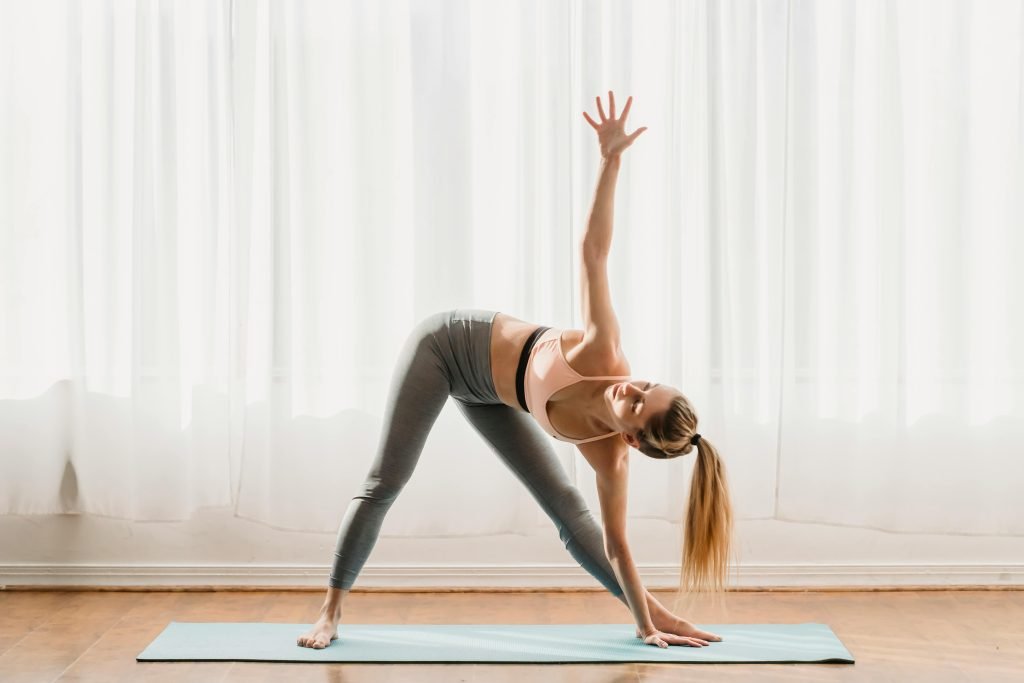
If you want to strengthen your legs and back, then the Triangle pose is perfect for you. Additionally, this yoga posture is also useful in extending the chest muscle, simultaneously elongating muscle fiber and external butt muscles.
Steps to Perform Triangle Pose
Begin with standing straight, joining your feet together. After that, split apart the left foot from the right foot nearly 1 meter and place it at a 45-degree angle. Now, move the torso to the side and extend the posture by extending the right arm toward the floor and the left arm toward the sky. Please ensure to maintain the right and left leg position straight. It may not be possible for you to touch the floor with your right arm initially; hence, don’t stretch it too much. Twist the right arm as much as you can keep your back straight. Remain in this yoga posture for 15 to 30 seconds then change the side and do repetition as required.
Pigeon Pose (Kapotasana)
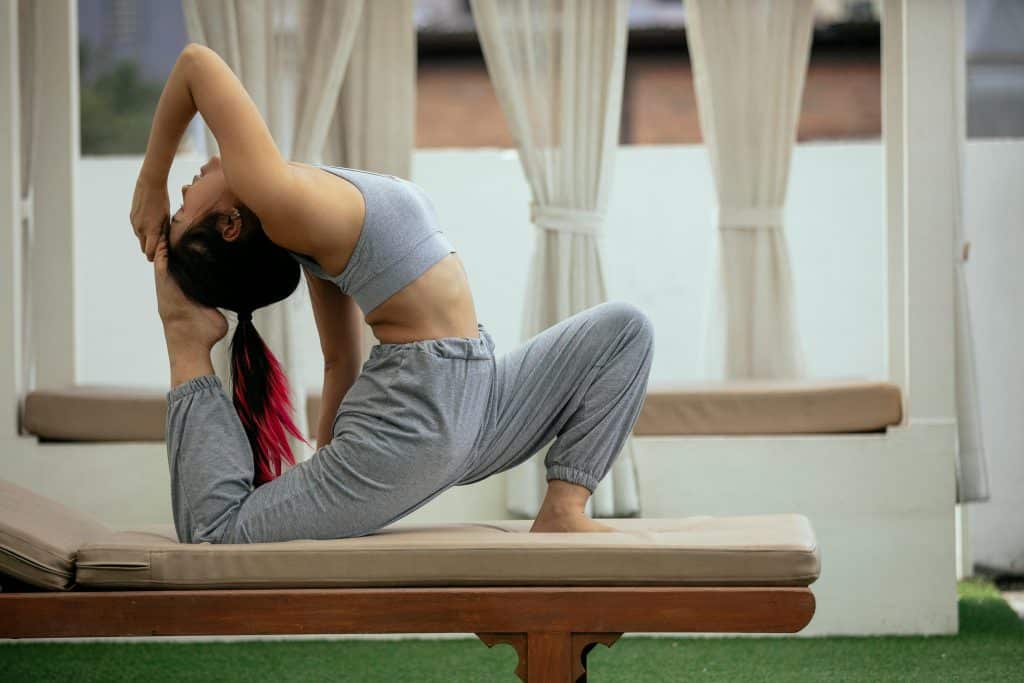
Beginners may find it difficult to do the Pigeon pose. The posture helps in extending hip spinners and flexors. However, it may not directly treat the back pain, but a tight butt can lead to lower back pain. So, this pose helps reduce the stiffness of hip rotators and muscles.
Steps to Perform Pigeon Pose
Begin by placing the right knee forward with the right twist. Bring the right leg towards the left hip. Stretch your left leg behind the back and face the sky. Cross your hips together and bring the legs adjacent to each other. You can use support beneath your right-side buttock to maintain the level of your hips. Now breathe in, extend your spine, bring it to the navel, and open your chest. As you breathe out take your hands forward and reduce your upper body towards the ground. Keep your forearms and forehead in a resting position on the yoga mat. Remain in this position for at least 10 to 15 seconds.
Downward-Facing Dog (Adho Mukha Svanasana)
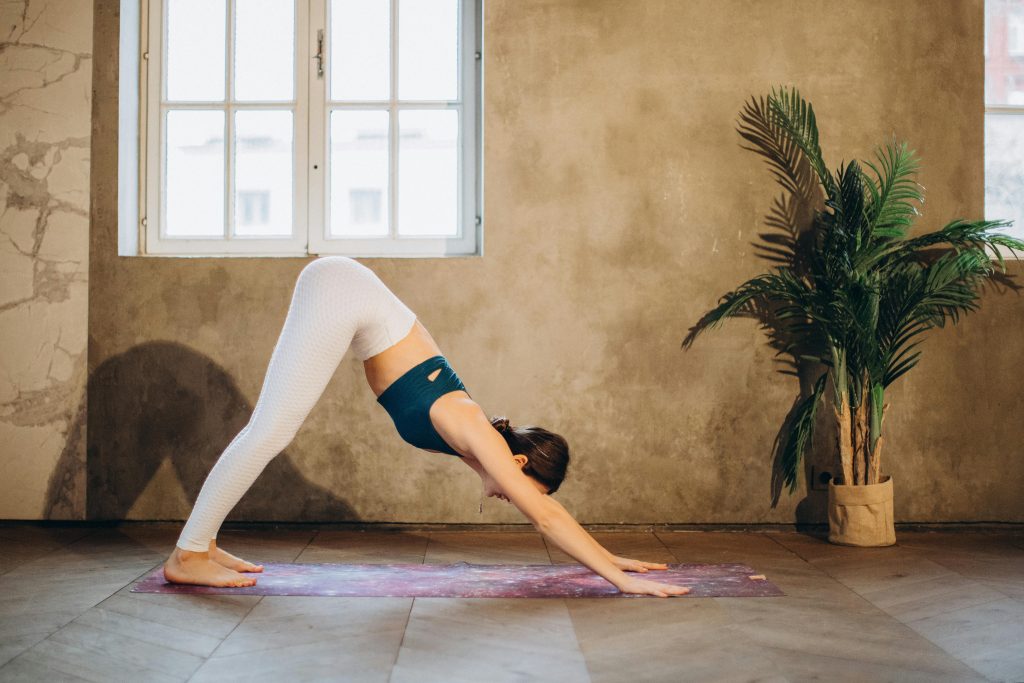
This traditional yoga posture is a boon for overall body extension, focusing on back muscles. The big muscles of the backstretch support the lower back and spine, giving relief. It supports standing and raising the body.
Steps to Perform Pigeon Pose
Begin with knees and hands in which your hands merely placing the ground coming from the shoulder. Now, stretching the back, lift your thighs far from the ground and take your hips toward the sky. You can also additionally extend the hamstring by softly pressing your heels towards the ground. Don’t overdo it if you feel uncomfortable initially; try to learn it slowly. Remain in the posture for 10 to 15 seconds and perform pose at least 5 to 6 times.
Conclusion
Yoga has all the answers when it comes to healing severe to mild pain. Yoga poses not only help physical pain but also aid in dipping strain, worry and depression. For your mental and physical well-being, make sure to adopt a yoga routine. Having said that, it is also essential to keep in mind that please perform all these yoga postures under the guidance of a professional and expert yoga trainer. Avoid doing it yourself because doing yoga postures in the wrong way can increase your injuries and discomfort. Therefore, always practice yoga as per the instructions of a certified yoga teacher.